


Introduction
Ready to go live and share your passion with the world? Whether you dream of becoming a full-time content creator or just want to stream for fun, your streamer setup plays a huge role in how professional your content looks and feels.
In this ultimate streamer setup guide, we’ll break down the essential hardware and software you need, from budget-friendly gear to advanced configurations. Whether you’re building a cheap streamer setup for beginners or aiming for a professional streamer setup for gamers, this guide will help you create a space that fits your goals, budget, and style.
Step 1: Planning Your Streamer Setup
Before buying anything, outline your needs:
-
Platform focus: Twitch, YouTube, or TikTok? Each has different requirements.
-
Content type: Gaming, chatting, or creative streams?
-
Space: Large studio or small room streamer setup?
-
Budget: From a best budget streamer setup to an affordable streaming setup under $500, your gear should scale with your goals.
💡 Tip: Create a quick streamer setup checklist with your must-haves (camera, mic, lighting, PC, software, desk) before shopping.
Step 2: Essential Hardware for Your Streamer Setup
1. Camera
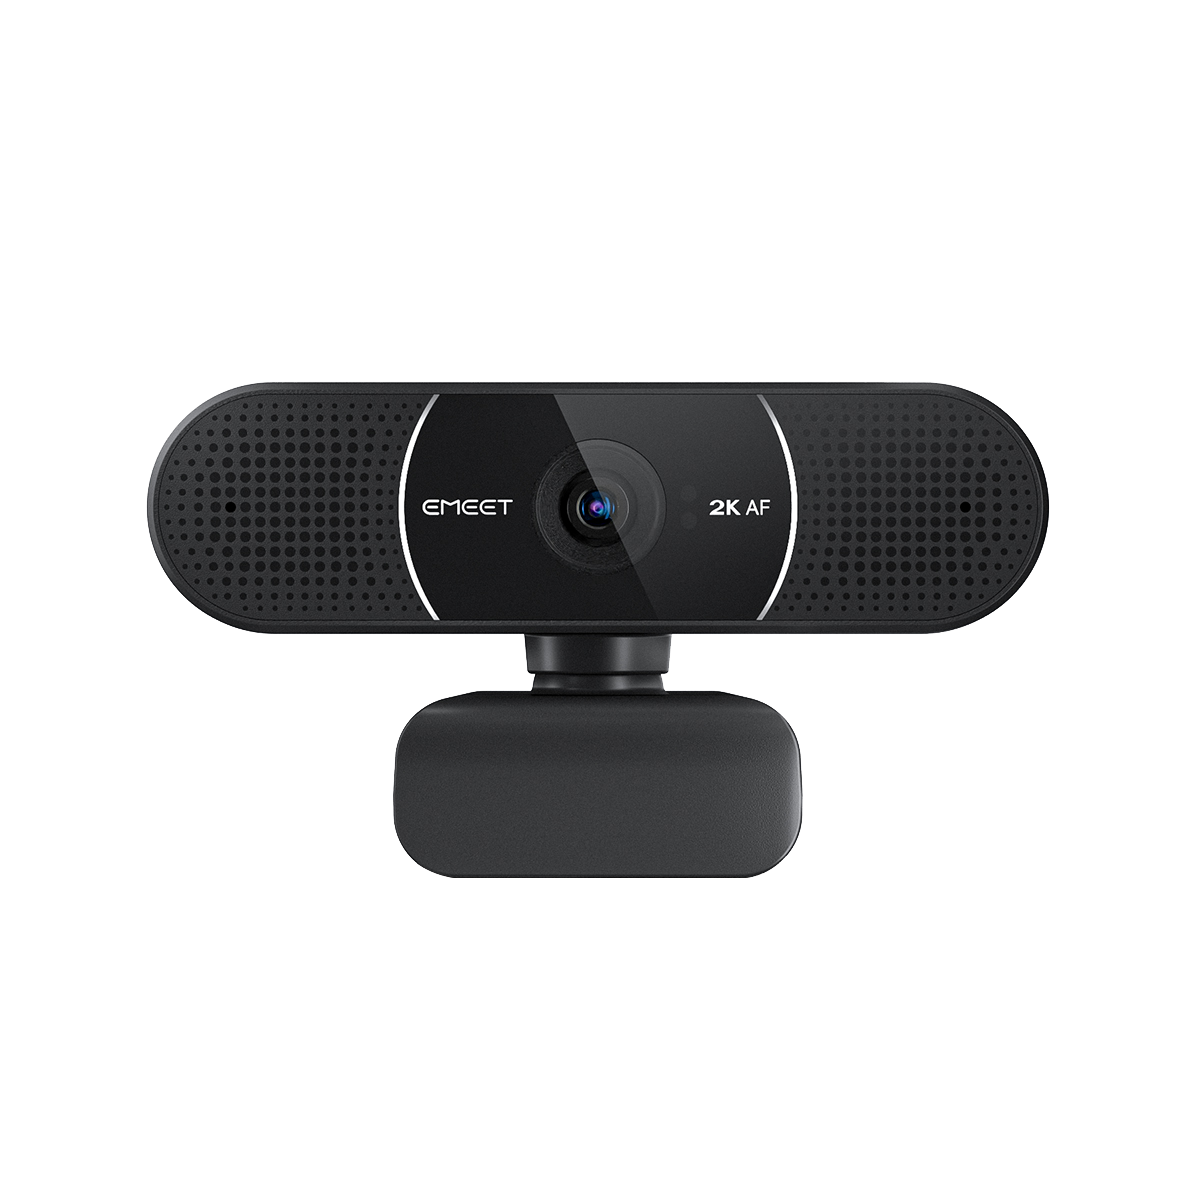
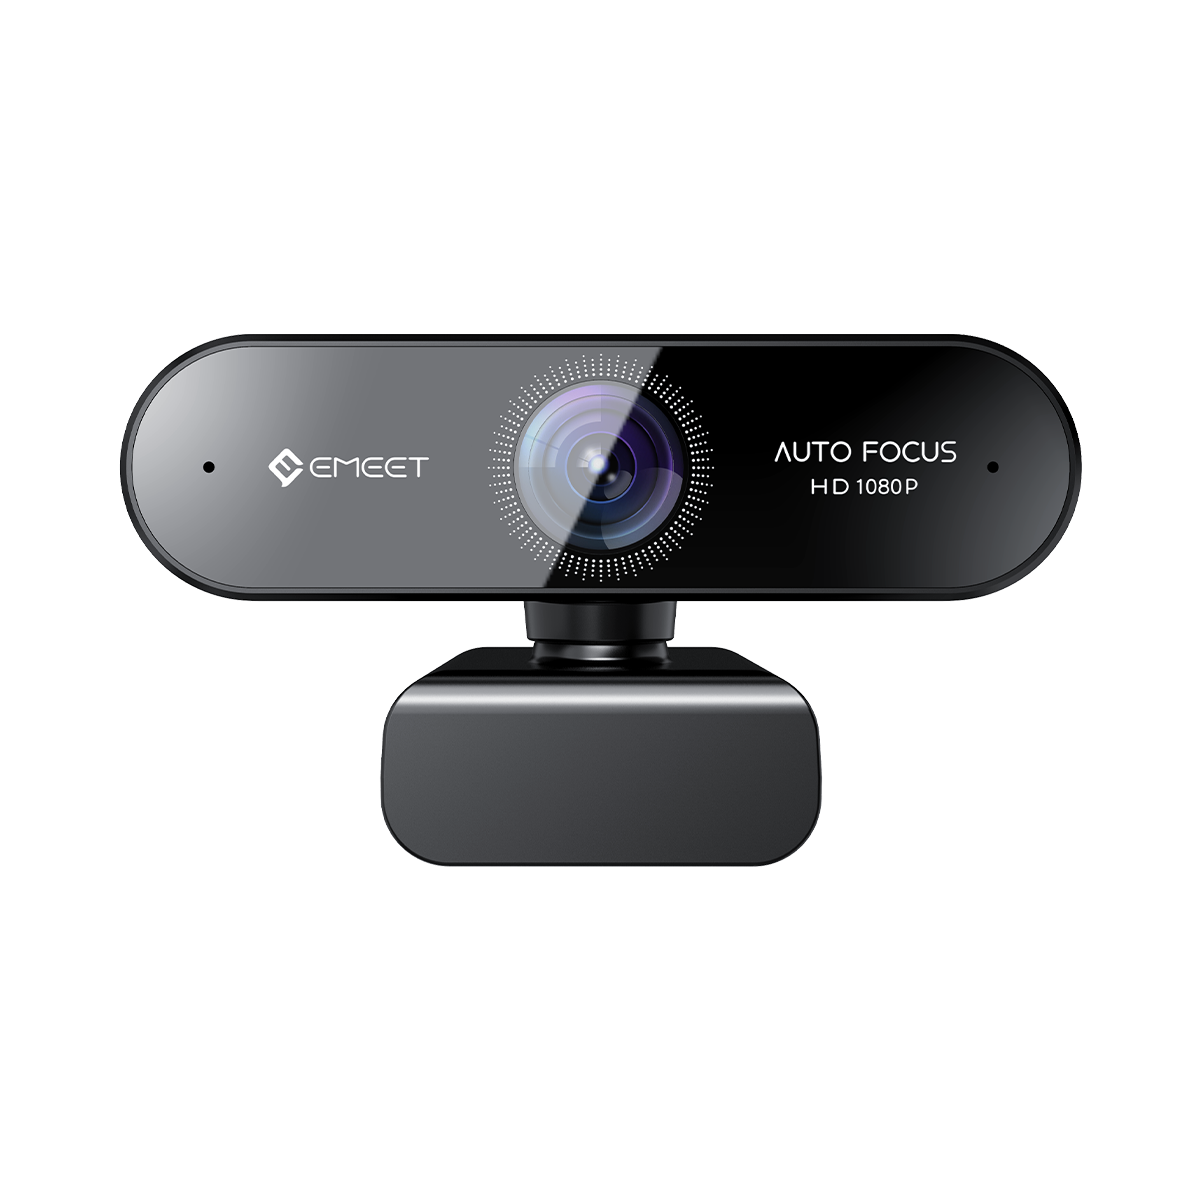
You need a high-quality webcam to engage your audience.
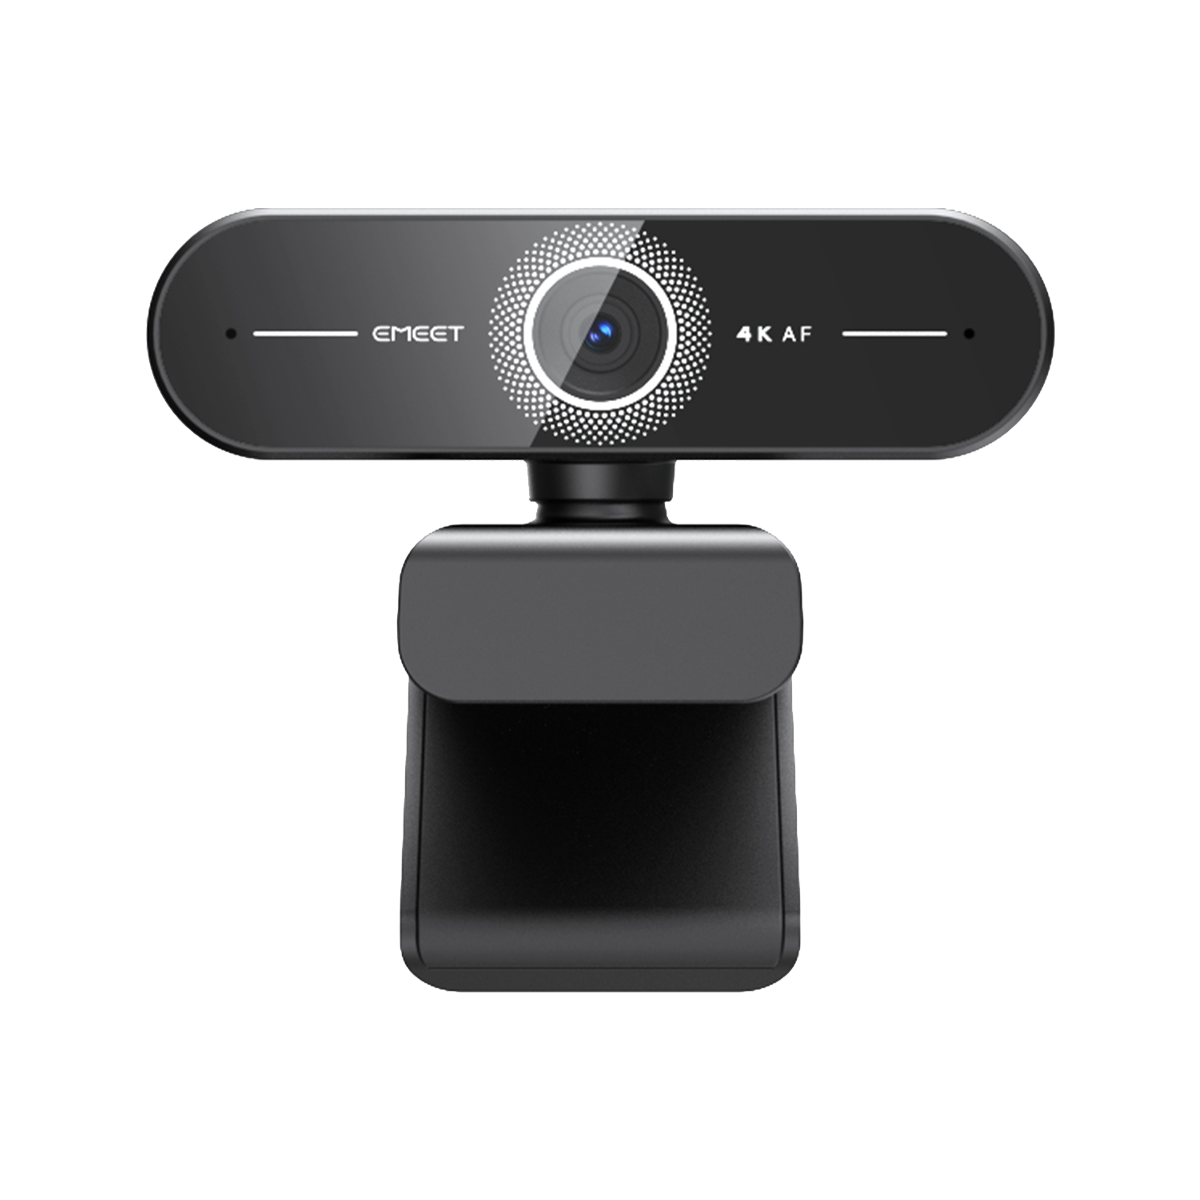
If you’re looking for a USB webcam that offers professional-level clarity at an entry-friendly price, the EMEET PIXY is a fantastic choice. AI-powered auto-framing, and plug-and-play simplicity — perfect for a best budget streamer setup or beginner streamer setup guide.

Key features of EMEET PIXY:
-
UHD 4K resolution
-
0.2s lightning-fast AI-powered autofocus
-
Strong compatibility
-
3 Noise-cancelling mics with 3 audio modes
-
Gesture control
If you have a high budget and are looking for high-quality images, you can consider mirrorless cameras and SLR cameras.
2. Microphone
Clear audio builds audience trust. Choose from:
-
USB mics: Great for beginners.
-
XLR mics: Professional quality for advanced users. Pairing your mic with a pop filter or arm stand enhances clarity — perfect for any streamer setup for content creators.
3. Monitors
A dual monitor streamer setup allows one screen for gaming and another for chat or OBS. Even a small streamer setup can benefit from a second monitor if desk space allows.
4. Lighting
Good lighting elevates your visual quality. Consider:
-
Ring lights or key lights for balanced exposure.
-
RGB lighting for streamer setup to create a unique vibe. If you’re short on space, opt for clamp lights or wall-mounted LED panels.
5. Background Setup
A clean background keeps focus on you.
-
Add a green screen for virtual scenes — ideal for a streamer setup with green screen.
-
Or decorate with posters, shelves, and soft lights for personality.
6. Desk & Accessories
An ergonomic desk setup for streamers helps organize gear. Include:
-
Adjustable desk and chair
-
Cable management tools
-
Mounts and stands for your mic and camera
For compact setups, a small room streamer setup with foldable or corner desks can save space without compromising comfort.
Step 3: Must-Have Software for Streamers
-
OBS Studio / Streamlabs OBS: Essential for managing overlays, scenes, and sources.
-
Audio tools like Voicemeeter or Wave Link for audio mixing.
-
Chat bots for viewer engagement.
-
Editing tools (e.g., DaVinci Resolve) for post-production content.
Want platform-specific advice? Check these:
-
Twitch streamer setup essentials: OBS + StreamElements overlays + alerts
-
YouTube streamer setup guide: Streamlabs + thumbnail templates
-
TikTok streamer setup ideas: Vertical layout, ring light, and phone mount
Step 4: Customizing Your Streamer Setup
Your setup should reflect your content and personality:
-
Streamer setup for gamers: Prioritize GPU power, responsive monitors, and a quality mic.
-
Streamer setup for content creators: Focus on video quality, lighting, and editing workflow.
-
Beginner streamer setup guide: Start small, upgrade gradually.
-
How to build a streamer setup: Begin with essentials, then expand — don’t overbuy early on.
If you value aesthetics, try an aesthetic minimalist streamer setup with neutral tones and clean cable routing.
❓ Common Q&A
Q1: How much does a full streamer setup cost? A: A cheap streamer setup for beginners can start under $300. A balanced affordable streaming setup under $500 covers a webcam, mic, lighting, and software.
Q2: What’s the best camera for streaming? A: USB webcams are great for beginners, while mirrorless cameras suit pros. Choose based on your space and platform.
Q3: Do I need two monitors to stream? A: Not required, but a dual monitor streamer setup boosts efficiency and viewer engagement.
Q4: What lighting should I get? A: Start with a ring light; upgrade to RGB lighting for streamer setup for mood control.
Q5: Can I stream in a small room? A: Yes! Opt for a small room streamer setup with compact gear and vertical mounts.
Conclusion
Building your dream streamer setup doesn’t have to be overwhelming or expensive. Start with the basics, prioritize comfort and clarity, and upgrade as your channel grows. Whether you’re crafting a best budget streamer setup, a creative streamer setup for gamers, or a minimalist streamer setup in a tight space — your perfect configuration is one thoughtful step away.
Now, grab your gear, check your streamer setup checklist, and hit that “Go Live” button — the world is waiting!


