


If you’ve just got the Nintendo Switch 2 and want to share your gameplay with friends, fans, or a wider online audience, you’re in the right place. Whether you’re a professional streamer or a complete beginner, this step-by-step guide will walk you through everything you need—from setting up your capture card to configuring OBS Studio—so you can start streaming or recording your Switch 2 gameplay with ease.
All you need:
-
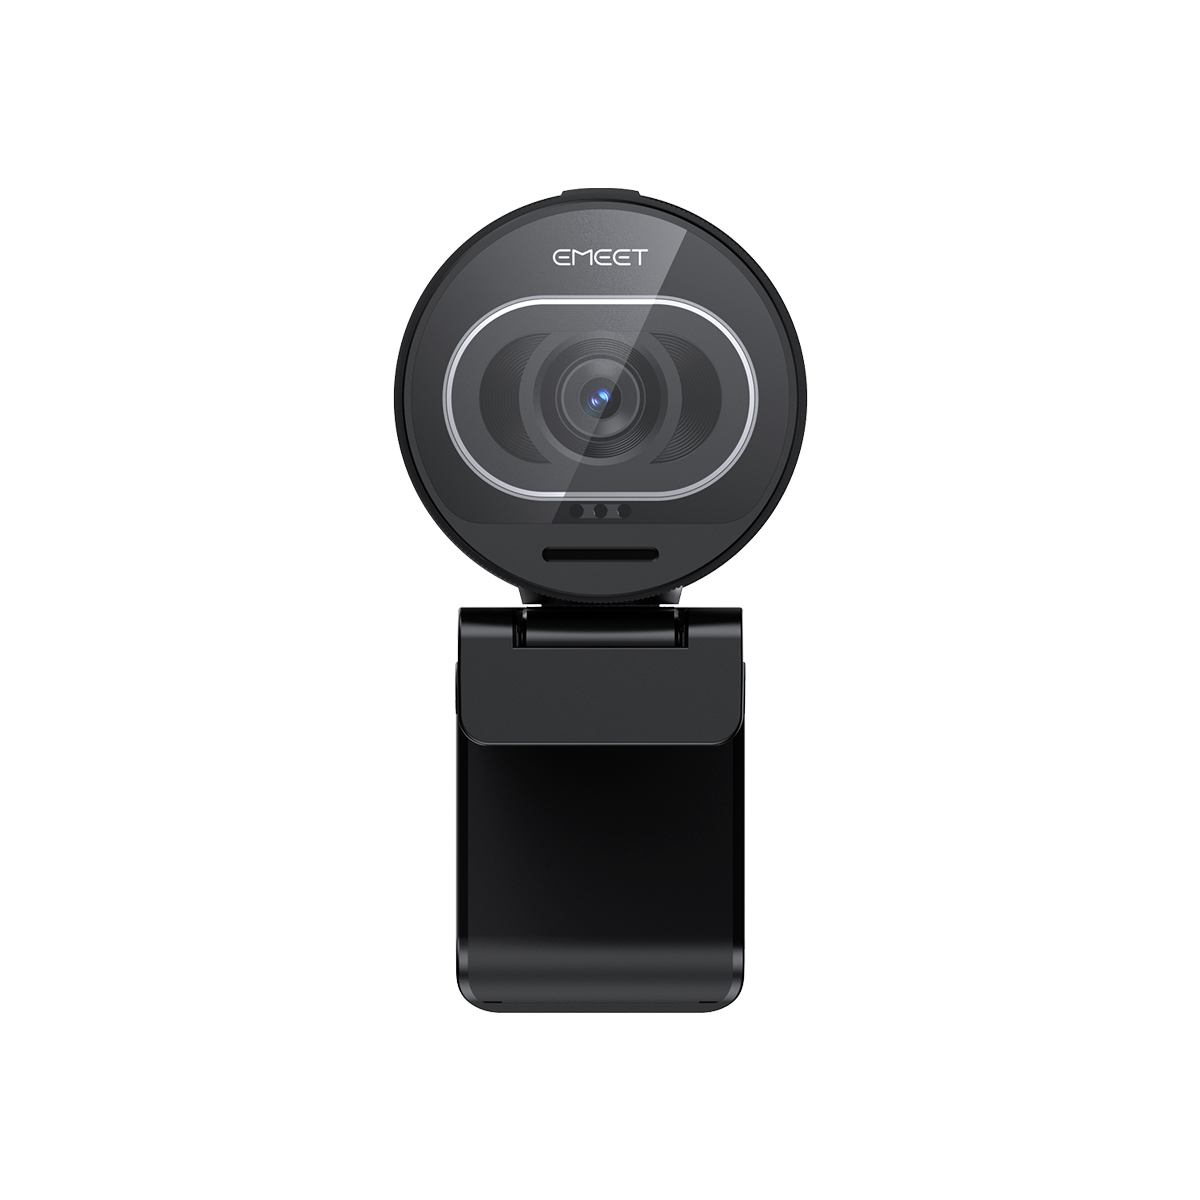
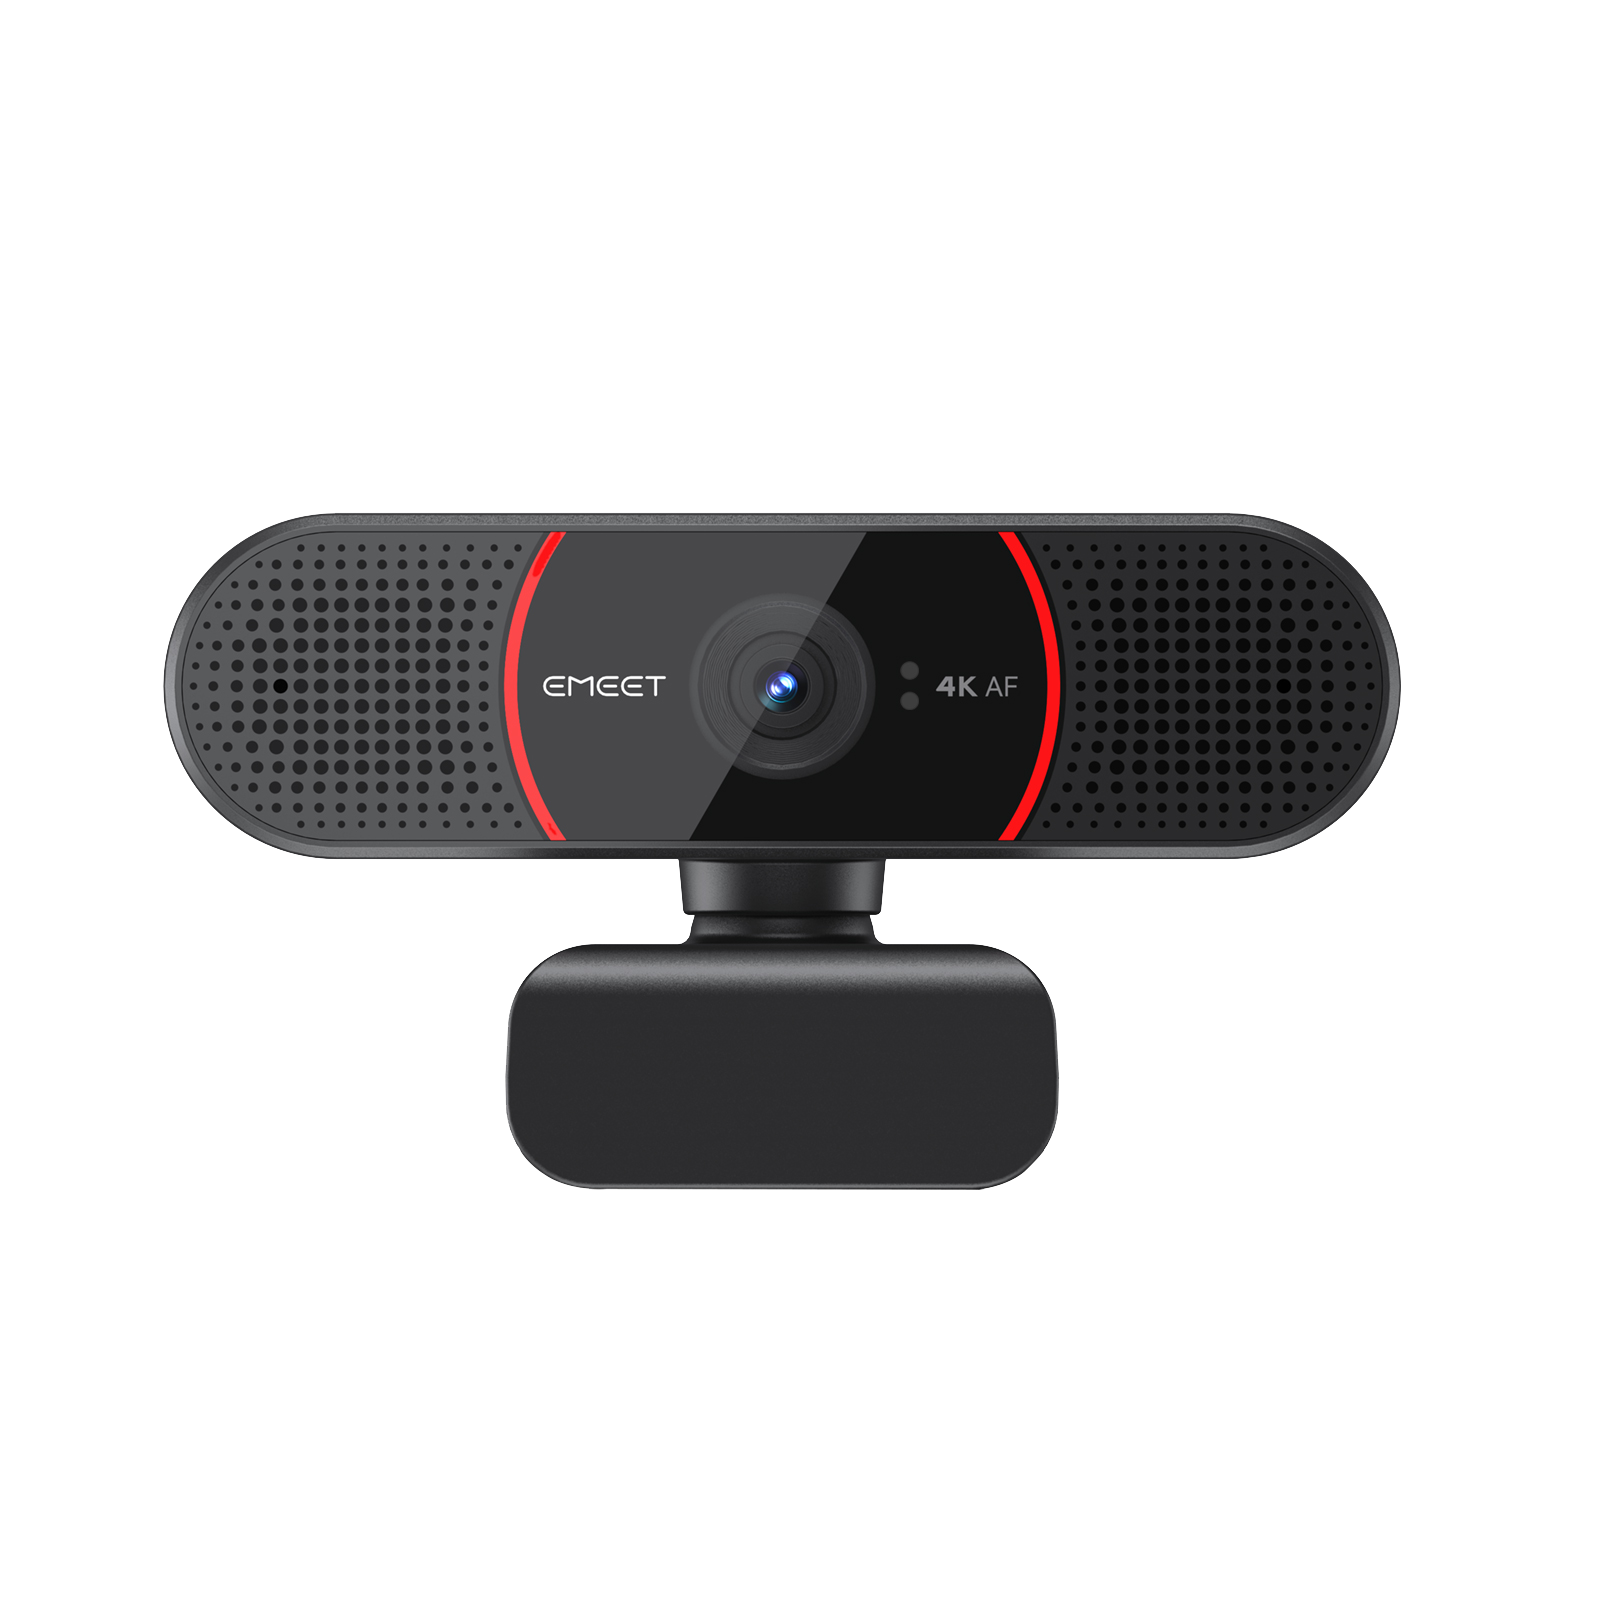
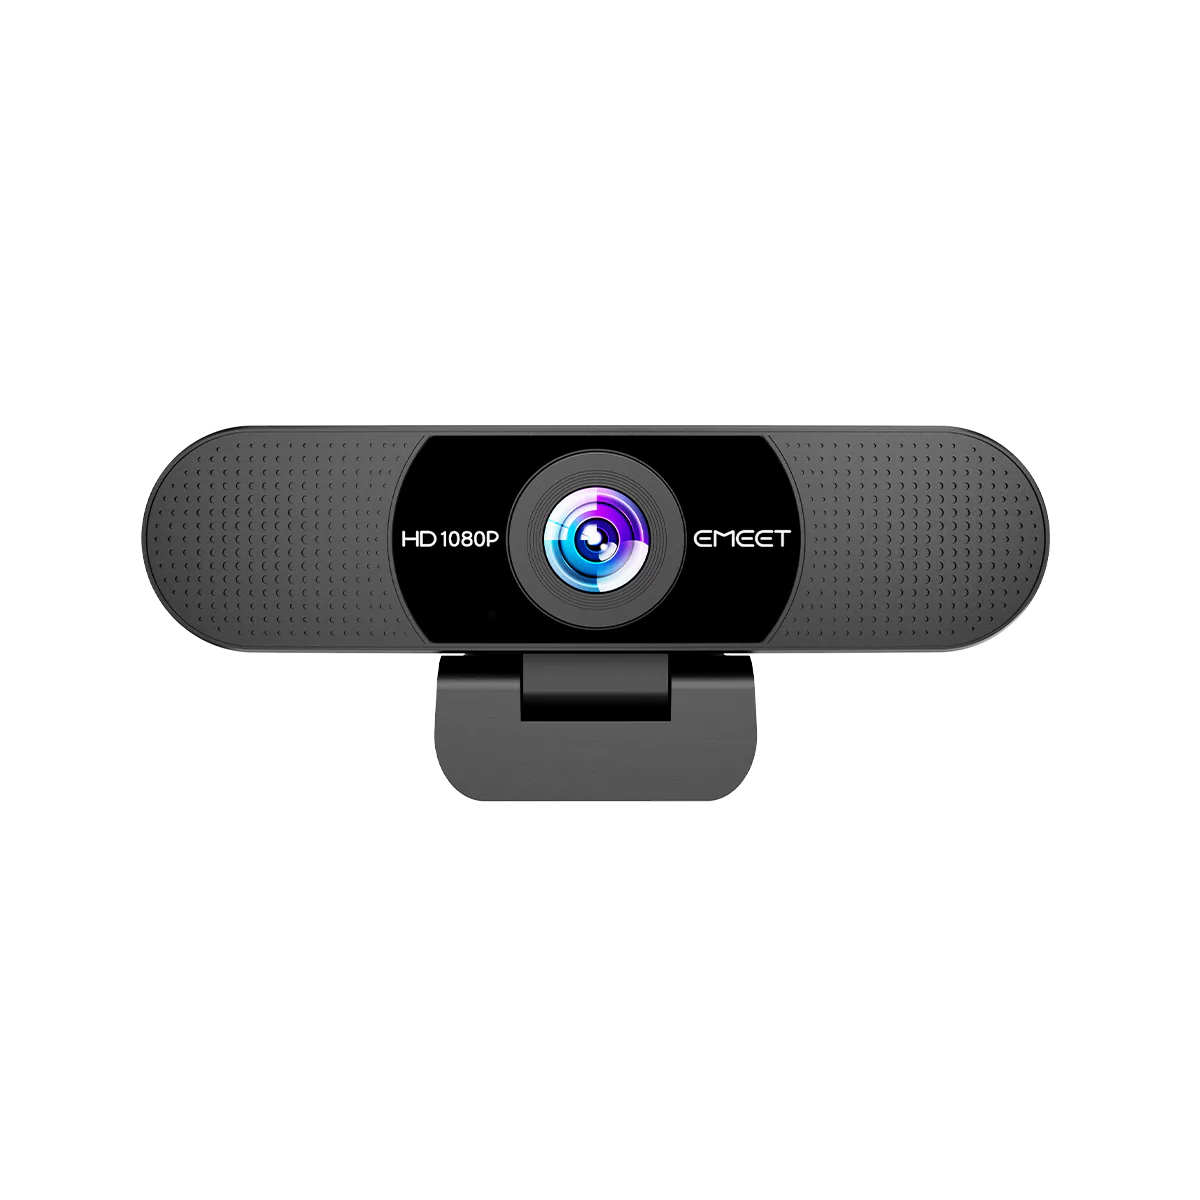
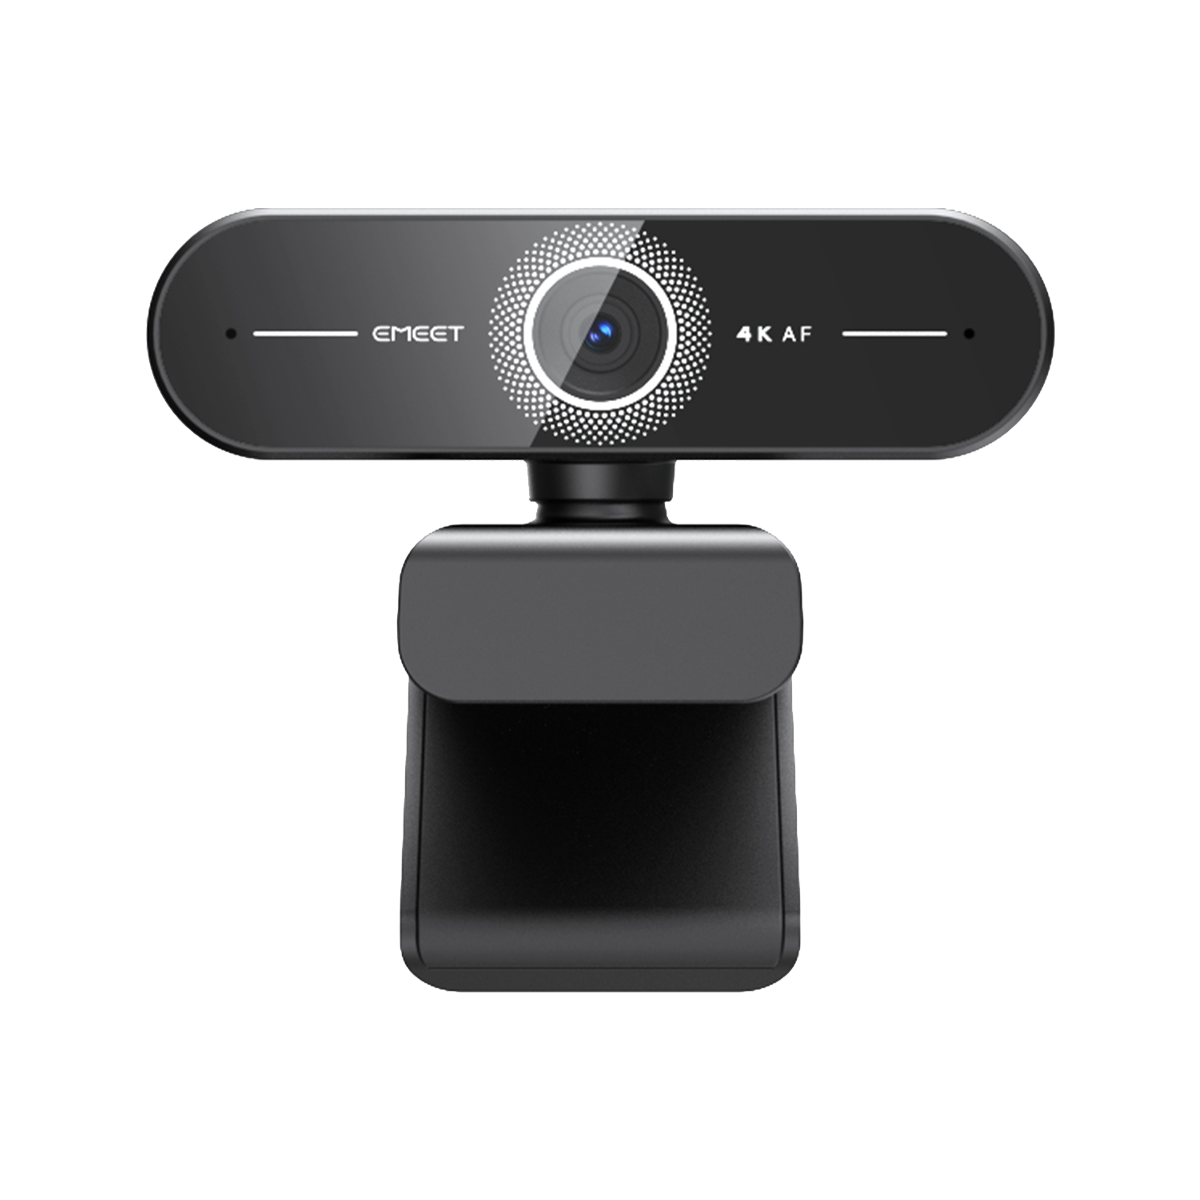
Webcam
-
External capture card
-
Switch 2
-
OBS Studio
-
Two HDMI cables (Switch 2 and most capture cards include one; you can check whether you are already have)
Step 1: Connect the capture card and webcam(External capture card or Built-in capture card)
External capture card:
1.Connect Switch 2:
Plug the charging cable with Switch 2 (AC ADAPTER).

2.Connect the capture:
First, plug an HDMI cable into the Switch dock (HDMI OUT) and connect the other end input HDMI cable to the capture card (HDMI IN). Then,plug another HDMI cable into your computer and connect the other end HDMI cable to the capture card (HDMI OUT).

3.Connect webcam:
Connect the webcam to your computer.
Built-in capture card:
1.Installing the capture card:
Install the build-in capture card into the console.
2.Connect the capture:
Plug an HDMI cable into the Switch dock (HDMI OUT) and connect the other end input HDMI cable to the capture card (HDMI IN)

3.Connect Switch 2:
Plug the charging cable with Switch 2 (AC ADAPTER).
Step 2: Add the game feed and your face cam
Open OBS, click the plus in Sources, and select Video Capture Device. Name it something like "Capture Card" and hit OK. Choose your capture card, click OK again, and stretch the game footage to fill the canvas.Add your face the same way: choose Video Capture Device, name it "PIXY," select the PIXY camera, and hit OK. Adjust your face frame to the right spot, and now your full live setup is ready!
Step 3: Settings
OBS streaming settings:
Click Settings, choose Streaming, scroll down to select your platform,Twitch, YouTube or others, then either get your stream key or directly link your account. Copy the stream key from your dashboard, hit Apply and OK, and finally click Start Streaming , you're live!
If you can't find your streaming platform,choose Custom (for example, KICK). Go to your KICK dashboard, copy the stream URL and key, paste them into OBS, hit Apply and OK, then click Start Streaming, and you'relive!
Tiktok studio Settings:
If you want to go live on TikTok using OBS, open TikTok Studio, click the plus, add Camera, select OBS Virtual Camera, click Add Source, adjust your scene, then hit Go Live to start streaming.
Video Tutorial
If confused? Don’t worry—watch it in action.

Key Features:
-
UHD 4K resolution
-
Al Tracking & Gesture control
-
Strong Compatibility(works seamlessly with Switch2, OBS, Twitch, YouTube, and more)
-
Clear Audio with 3 noise-cancelling microphones
-
Dual Camera
Final Thoughts
Streaming or recording on the Nintendo Switch 2 is simpler than it may seem, especially with the right tools and software. Once you’ve completed the setup, you’ll be ready to share your gaming adventures with the world, grow your audience, and even build a professional streaming presence. Remember, the key to great content is not just high-quality video and audio, but also consistency and interaction with your viewers. Now, it’s time to go live and let your gameplay shine!


